
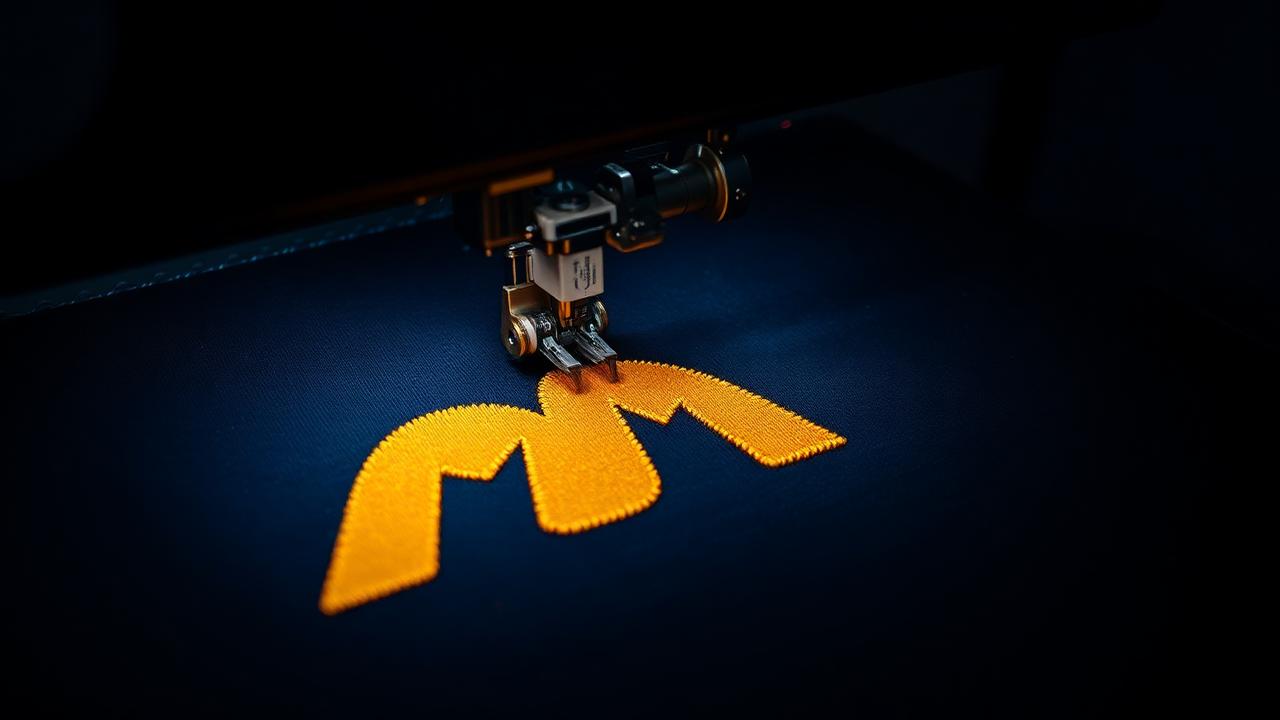
Step 1 — Start from the cleanest artwork you have
Resolution matters less than edge clarity. A 600px PNG with hard edges digitizes better than a 4000px JPG with compression noise around every letter. If you only have a photo or a screenshot, run a vector conversion first so shapes become solid, closed paths.
- Prefer PNG, SVG, PDF or AI over JPG when the source is available.
- Remove the background before digitizing so the trace does not chase a halo.
- Flatten drop shadows and gradients — thread cannot render them.
Step 2 — Decide the finished size before anything else
Stitch types are size-dependent. A satin column below roughly 1mm looks starved, and above about 8mm it snags. Left-chest logos usually land between 60mm and 90mm wide; cap fronts are limited by the hoop and by the fact that you sew bottom-up and centre-out.
Choosing the size first means small text becomes a design decision instead of a production failure.
Step 3 — Map shapes to stitch types
Every region of the logo becomes fill, satin or run stitching. Large solid areas become fills with a stitch angle chosen to catch light in one direction. Letters, outlines and thin bars become satin columns. Fine detail becomes running stitch or gets removed.
- Fill: bodies, shields, blocks of colour.
- Satin: text, borders, tapered shapes under 8mm.
- Run: hairlines, registration detail, travel between shapes.
Step 4 — Underlay, density and pull compensation
Underlay is the scaffolding stitched before the visible layer. Without it, thread sinks into a knit polo and the logo looks fuzzy. Density controls how tightly the top layer packs — too tight and the fabric stiffens or the needle breaks, too loose and the garment shows through.
Pull compensation widens shapes slightly along the pull direction so that after the fabric relaxes, columns measure what you designed. Stretchy fabrics need more; a stable cap panel needs less.
Step 5 — Sequence, trims and the export format
Good sequencing minimises colour changes and long jumps, which is what actually shortens run time. Then export to the format your machine expects: DST for Tajima and most commercial heads, PES for Brother and Babylock, JEF for Janome, EXP for Melco, VP3 for Husqvarna Viking.
StitchAI Pro does all of the above automatically and exports every format at once, so you are not re-digitizing when a client's shop runs a different machine.